Trezor.io/Start® | Secure Offline Storage for Your Digital Assets
In today’s digital landscape, the importance of secure cryptocurrency storage cannot be overstated. As digital currencies continue to gain popularity, so do the risks associated with online threats, hacks, and phishing scams. If you're serious about safeguarding your digital assets, the best defense is a hardware wallet — and the safest place to begin is at Trezor.io/Start®, the official Trezor® wallet setup site.
This blog explains how Trezor.io/Start® helps you protect your crypto through secure offline storage and walks you through the steps to properly initialize your Trezor® device.
Why Secure Storage Matters
Unlike traditional bank accounts, cryptocurrencies give you full control of your funds — but that also means full responsibility for keeping them secure. Hot wallets (online or app-based wallets) are convenient but exposed to malware, hacking, and phishing attacks. That’s where Trezor® hardware wallets come in, offering cold storage — a method of keeping your private keys offline and immune to internet-based threats.
And to set it all up safely? Always use the official portal: https://trezor.io/start.
What Is Trezor.io/Start®?
Trezor.io/Start® is the only trusted website to initialize your Trezor Model T or Trezor Model One wallet. Developed by SatoshiLabs, Trezor® was the world’s first hardware wallet, and it remains a trusted name in crypto security.
Using https://trezor.io/start ensures:
-
You download authentic firmware and software
-
You follow secure, step-by-step setup instructions
-
You avoid fake or malicious third-party sites
-
Your recovery seed and PIN are created securely
Starting with Trezor.io/Start® means starting with peace of mind.
How to Set Up Your Trezor® Wallet Securely
Step 1: Visit the Official Site
Begin by heading to the official site: https://trezor.io/start. Check that the URL is correct and shows a secure (padlock) connection in your browser.
Step 2: Connect Your Device
Plug your Trezor Model T or Model One into your computer using the supplied USB cable. Your device will prompt you to proceed with the setup.
Step 3: Install Trezor Suite
Trezor Suite is the official desktop app for managing your crypto, monitoring balances, and accessing wallet functions. Download it only from the official source:
Official download: https://trezor.io/trezor-suite
Trezor Suite is compatible with Windows, macOS, and Linux.
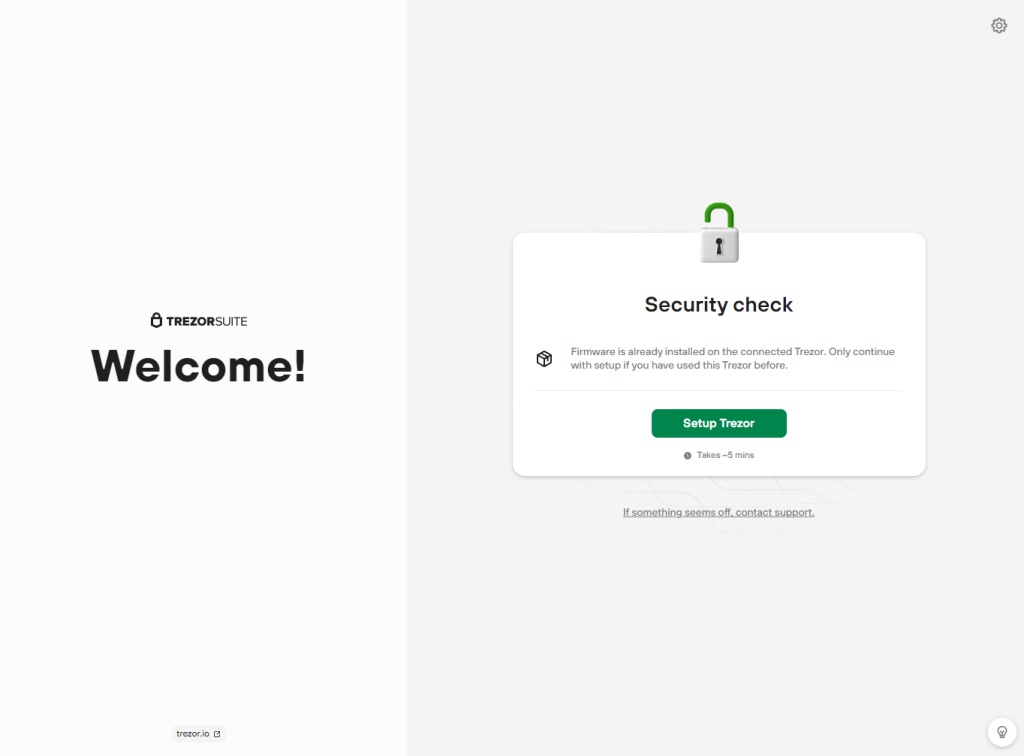
Step 4: Update or Install Firmware
If your device is brand new or hasn’t been used in a while, the setup process will install or update the firmware. This step ensures your device operates on secure, trusted software.
Step 5: Create a Wallet & Generate Recovery Seed
Choose “Create new wallet.” Your device will display a 12- or 24-word recovery seed. This seed is your only backup to recover your funds if the device is lost or damaged.
Important: Write this seed on paper and keep it offline. Never store it on your phone, computer, or cloud.
Learn about recovery seeds: https://trezor.io/learn/a/recovery-seed
Step 6: Set Up a PIN
Create a PIN directly on your Trezor device. This ensures no one can access your crypto assets even if they get physical access to your device.
Step 7: Add Cryptocurrency Accounts
You can now begin adding and managing supported coins like Bitcoin, Ethereum, Litecoin, and many more ERC-20 tokens.
View supported cryptocurrencies: https://trezor.io/coins
Final Tips for Maximum Security
-
Always use Trezor.io/Start® for wallet initialization
-
Keep your recovery seed private and offline
-
Regularly update your firmware and Trezor Suite
-
Never share your seed or PIN with anyone
Conclusion
Trezor.io/Start® is the essential first step in taking full control of your crypto security. By initializing your wallet through the official site, you gain access to the safest, most trusted form of offline storage available. In a world where digital threats are constantly evolving, securing your digital assets with Trezor® starts at just one place: https://trezor.io/start.